Add a Mac mini to your workspace
The Mac on your desk is already signed into the sites, has the toolchain installed, and stays on. Adding it takes one command, and from then on any scene you pin to it runs there.
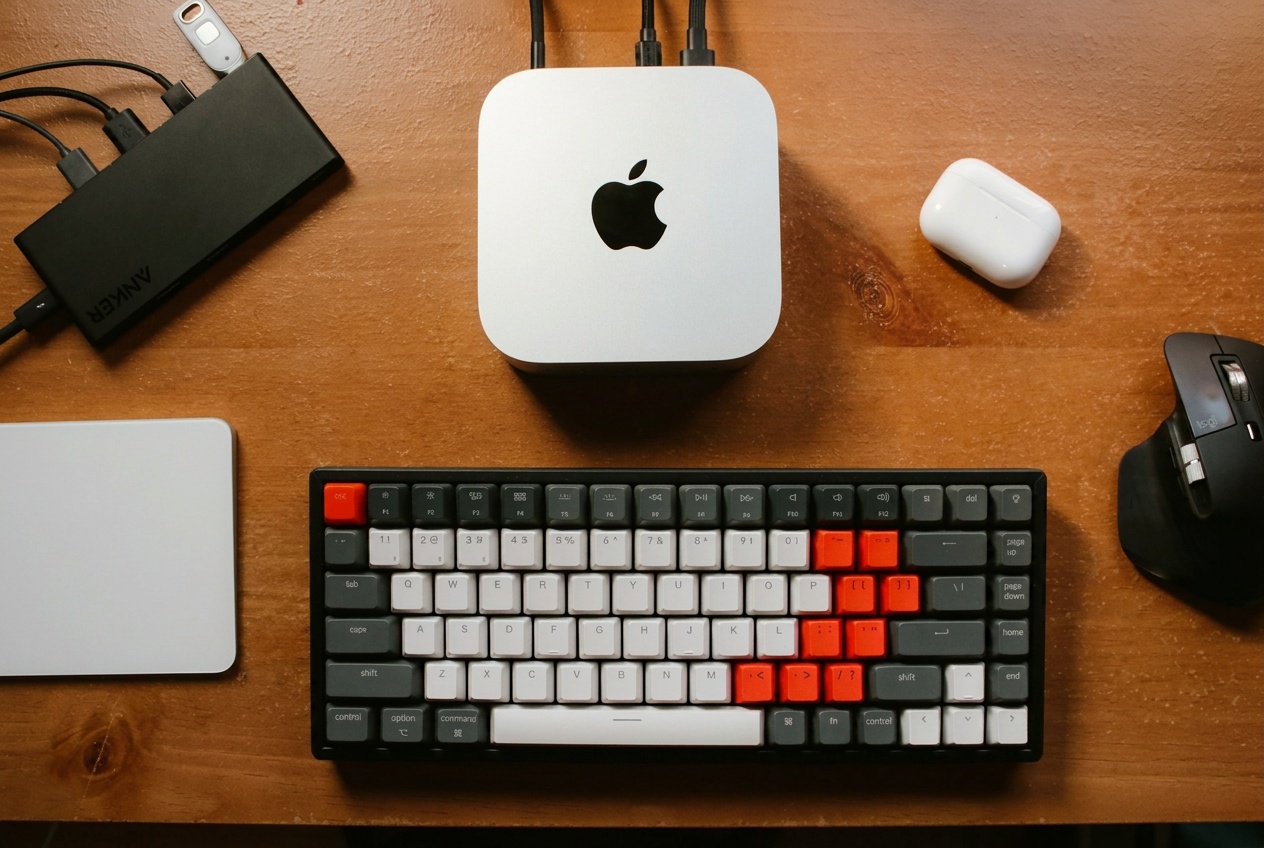
What you need
- A Mac that stays on. A mini is the obvious one; a laptop works but goes away when it sleeps.
- macOS 14 or newer.
- Nothing else. Each scene gets a directory of its own on the Mac and runs as you; a container per scene is next.
Install and pair
$ curl -fsSL https://daslab.run/node | sh
installed daslab 1.1.62 for arm64
service enabled and started

  pairing code  Q8HM-4TZR
  open          daslab.run/pair

waiting to be paired…
Type the code at daslab.run/pair on your phone and pick the workspace. The node installs a launch agent so it starts when you log in. The tile is named after the Mac; give it a name on the pair page if the Mac's own is something like Mirkos-Mac-mini-2.
paired with workspace labhaus as desk-mini
publishing: arm64 · 10 cores · 192.168.178.0/24 · camera
ready
Run a scene on it
In a scene, tap Add and pick desk-mini under Machines, or say run this scene on desk-mini. Things that are only good on a real machine with your sign-ins and your disk:
Give a port an address next
Same as on the Pi: a port the scene opens is on your network today; an https address of its own, served through the node's connection and gated by the tile's layer, is next.
Take it out
daslab node leave, or delete the tile. rm /usr/local/bin/daslab if you want the command gone too.