Add a Raspberry Pi to your workspace
A Pi that stays on at home is the cheapest machine that can do the things a rented one cannot: see your network, speak from your address, look through a camera, switch a pin. This is the whole setup, start to finish.
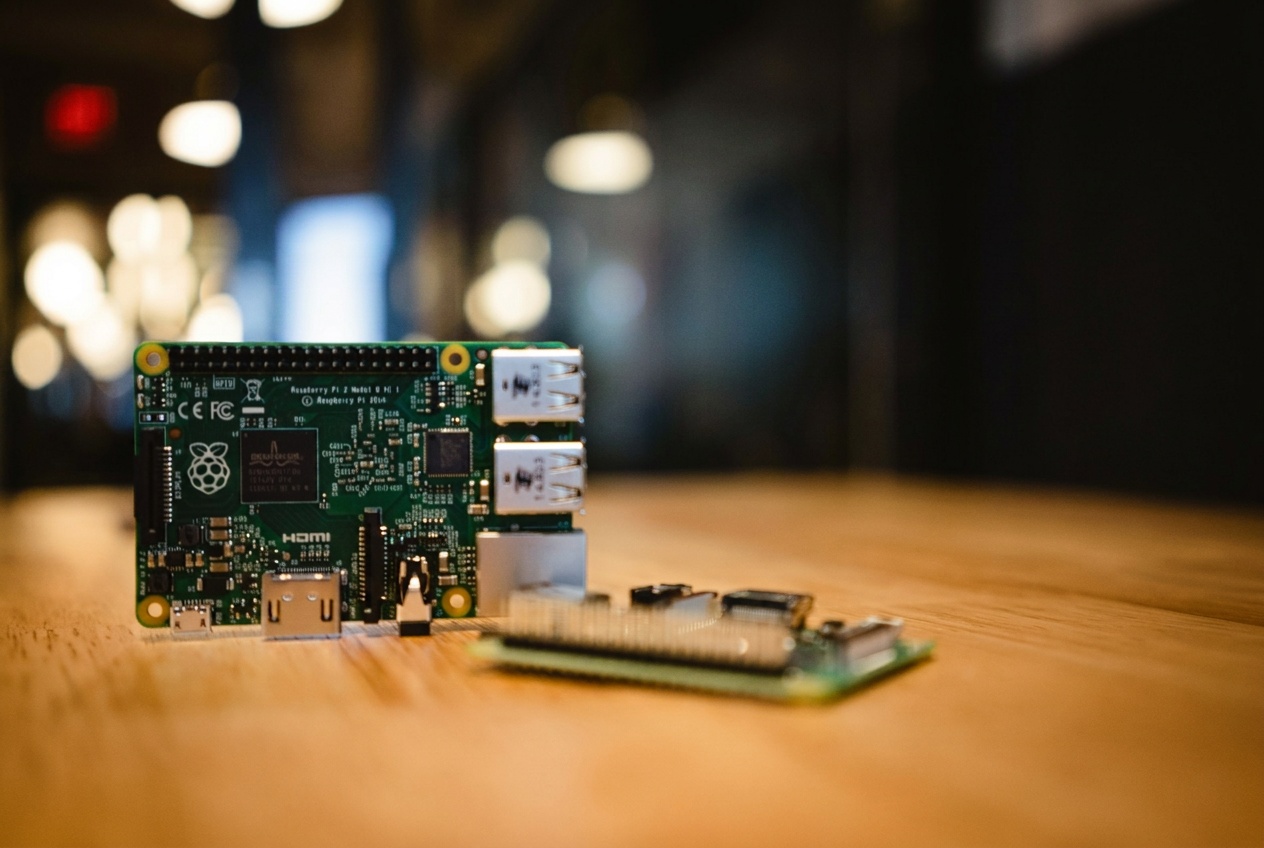
What you need
- A Raspberry Pi 4 or 5. A Pi 3 works too, it is just slower. Any memory size.
- Raspberry Pi OS, 64-bit. The Imager app writes it to the SD card.
- Power, your Wi-Fi or a cable, and either SSH or a keyboard and screen for the first minute.
- A workspace you can add things to.
Put the OS on it
In Raspberry Pi Imager, pick Raspberry Pi OS (64-bit). Before writing, open the settings and set a hostname you will recognise on a tile later, turn SSH on, and enter your Wi-Fi. Write the card, put it in the Pi, power it up. After a minute it is on your network.
$ ssh pi@lab-pi.local
pi@lab-pi:~ $
Install the node
One command. It downloads the node, registers it as a service so it comes back after a reboot, and starts it.
$ curl -fsSL https://daslab.run/node | sh
installed daslab 1.1.62 for arm64
service enabled and started

  pairing code  7F3K-2QXD
  open          daslab.run/pair

waiting to be paired…
That code is how the Pi gets into your workspace. It is good for ten minutes; running daslab node pair prints a new one.
Pair it from your phone
Open daslab.run/pair, type the code, pick the workspace. That is all. A tile named lab-pi appears in the workspace within a few seconds, and the Pi's screen says so too.
paired with workspace labhaus as lab-pi
publishing: arm64 · 4 cores · 192.168.1.0/24 · camera · serial · gpio
ready
The tile sits in the workspace like every other tile, in a layer, so the rules are the ones you already know: anyone in the workspace can pin a scene to the Pi. Locking it to you — everyone sees it, only you pin — comes with layer locks.
A second workspace? Run daslab node pair on the Pi again and pick it. One machine, a tile in each workspace, each pinned and removed on its own (daslab node leave --workspace <name>). Scenes from both share the Pi's disk, so do this on machines you own outright.
Run a scene on it
Open a scene, tap Add, and pick lab-pi under Machines — or just say:
From the next job on, that scene's computer is on the Pi. The agent is told where it is and what the Pi offers, so it knows it can reach nas.local here and would not try from one of our machines. The scene gets a directory of its own on the card (~/.daslab/scenes/…) and files it writes stay there between runs.
A few things to try, in that scene:
A camera that publishes live video — glasses, a phone, OBS — can publish into the Pi instead of a cloud region. The Pi has ffmpeg, so its tile says media; say Take the glasses camera in on lab-pi and the scene answers with a short address on your own network, rtmp://192.168.1.23:1935/live/…, to type into the publisher. The Pi forwards the stream into the camera's session, so the scene plays it, scrubs back, and answers questions about it as before; the first hop just never leaves the building.
Give a port an address next
A page the scene serves on the Pi is reachable on your network today. Next, anything on the Pi that listens on a port can have an https address of its own: publish the port with a name, and it is served through the connection the node already holds open — nothing opened on your router — gated by the layer of the tile that appears for it. Not there yet; the moment it is, this section shows the command.
The bench in our lab, as it stands
Our own lab Pi is a Pi 5 on the bench with two arms and their cameras on it: an SO-101 on USB-serial with LeRobot installed and calibrated, and a reBot B601-RS on the CAN bus, plus two Amaran panels over Bluetooth and a bench camera. Pinned to it is a scene we use for exactly this; these are the kinds of things said in it.
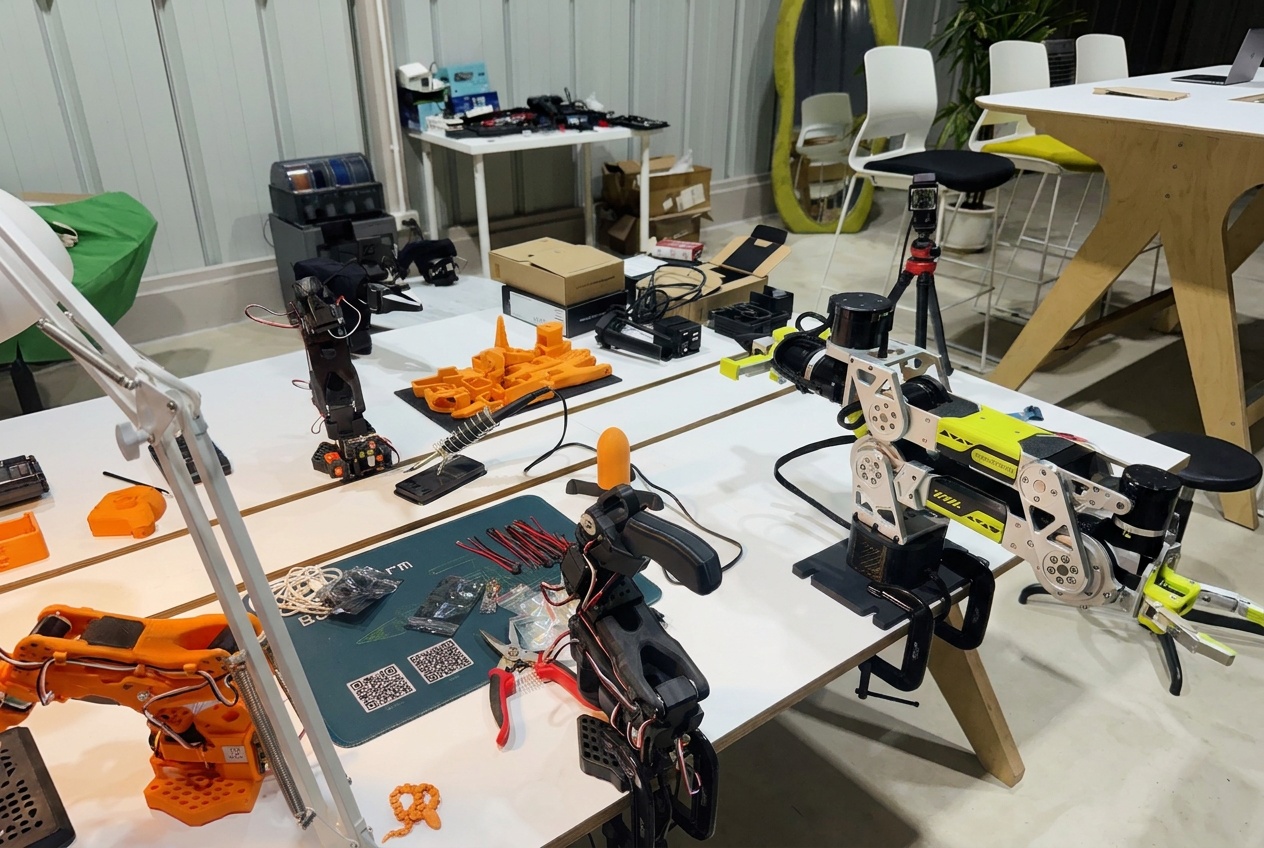
Nothing in the setup above is special to arms. The scripts that drive them live on the Pi; the scene runs there; the agent calls them like anything else on a machine it is pinned to, and the camera frame comes back the way any file does.
When the Pi is off
Scenes pinned to it say so and wait. They are not moved to our machines, because a scene that was on your network should stay on your network. Plug the Pi back in and they carry on.
Take it out
On the Pi, daslab node leave, or delete the tile in the workspace. Scenes that were pinned to it run on our machines from their next run.