Add an ESP32 to your workspace
An ESP32 is too small to be a node in its own right; it is a few dollars of board with a sensor or a relay soldered on. It either reports to a node you already have, or joins your Wi-Fi and talks to the workspace directly. Either way, its readings become cells and its switches become things the agent can do.
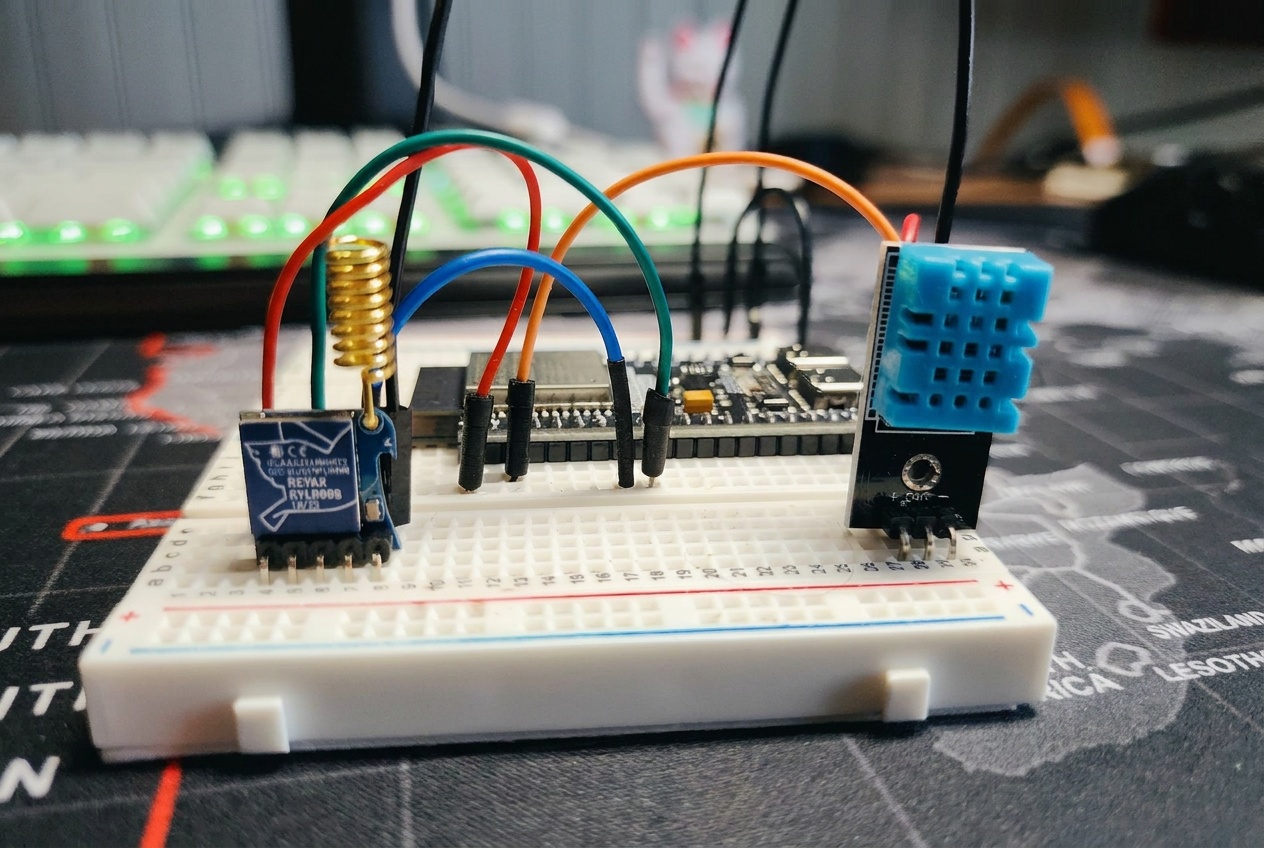
What you need
- An ESP32 board. An ESP32-CAM if you want a camera the size of a stamp.
- Whatever is wired to it: a temperature sensor, a door contact, a button, a relay.
- A USB cable and Chrome or Edge on your computer, to flash it from the browser.
- Either a node to plug it into (a Pi or a Mac that already joined), or Wi-Fi for it to join on its own.
Flash it from the browser
Plug the board into your computer and open daslab.run/flash. Pick the board and what is wired to which pin. If it will live on its own Wi-Fi, enter the network and the pairing code the page shows you; if it will hang off a node, leave that out. Click flash. The board reboots and starts talking.
Find it in the workspace
Through a node: open the node's tile and the sensor is listed under devices. On its own Wi-Fi: it has a tile named after the board. Readings arrive as cells; a relay or a pin you can set shows up as something the agent can do.
Battery and sleep
A board on a battery sleeps between readings. The tile keeps the last value and says when it was taken; a board that has not reported for a while shows as away, not as zero.
Take it out
Unplug it, or delete the tile.